

When I first signed up for AWS, I didn’t think I’d be writing about it, so I missed grabbing some of the early screenshots. But I still wanted to share how I set everything up in case you’re starting from scratch too. This post walks through the exact steps I followed: setting up a secure IAM admin user, configuring a monthly budget, installing the AWS CLI inside WSL on my machine, checking EC2 limits, and setting up budget alerts using SNS and CloudWatch. These steps gave me peace of mind and a solid foundation before diving deeper into AWS services.
Creating a Secure IAM Admin User
The very first thing I did was create a proper IAM user so I wouldn’t be using the root account for anything other than billing. I opened the AWS Console and searched for IAM. From there, I went to the Users section and clicked on Add User. I gave my new user a name (just my own name in this case), set a custom password, and unchecked the option that would require a password reset at the next sign-in since I was the only one using it.

For permissions, I searched for the AdministratorAccess policy and attached it to the user, so I’d have full access, just like the root account, but in a safer, recommended way. After finishing the setup, I saved the login URL, username, and password somewhere secure before continuing. And that was it, I now had a secure admin user set up, following AWS best practices.
Setting a Monthly Budget
Once the IAM user was ready, I wanted to avoid racking up charges by accident. So, I went ahead and created a monthly budget. I searched for Billing and Cost Management in the AWS Console (or you can go directly to console.aws.amazon.com/cost-management if you’re already signed in). In the left-hand sidebar, under Budgets and Planning, I selected Budgets and clicked Create a budget. I stuck with the default Zero spend option, which is perfect for keeping things free while learning. You can also choose a custom threshold if you plan on running more services right away.
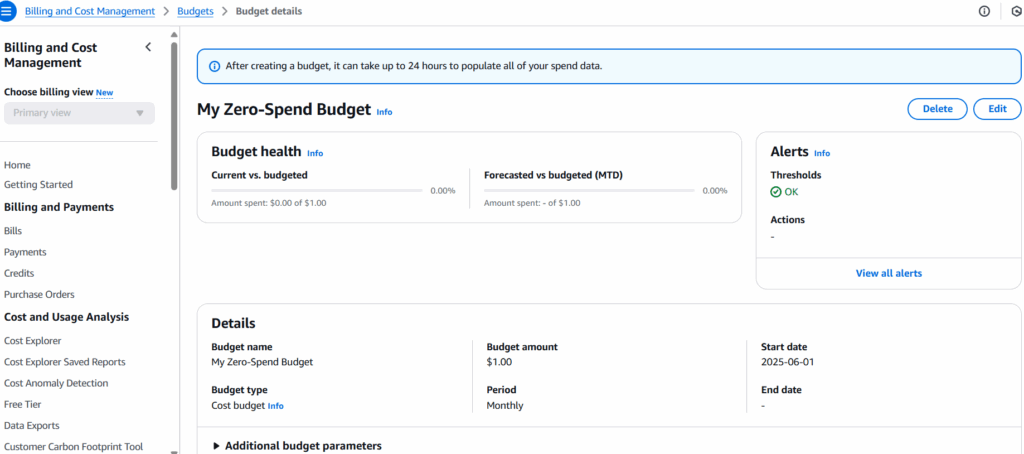
A quick note on AWS Budgets, this lets you set up alerts based on spending, usage, or even the performance of reserved instances or savings plans. You can create cost budgets to track actual spending, limit resource use, or optimize coverage and utilization to see how efficient your savings plans are. You can receive alerts via email or even use SNS to trigger notifications or actions automatically. Just be aware that the alert data is not instant. There is usually a delay of 8 to 12 hours, so it is still possible to go slightly over your threshold before you’re notified.
Installing AWS CLI in WSL
Since I’m on Windows, I am using Windows Subsystem for Linux (WSL2) in Visual Studio Code, I wanted to install the AWS CLI inside that environment. I used the curl command to download the zip file from AWS and saved it as awscliv2.zip.
curl "https://awscli.amazonaws.com/awscli-exe-linux-x86_64.zip" -o "awscliv2.zip"
sudo apt update && sudo apt install unzip -y
unzip awscliv2.zip
sudo ./aws/install
After updating my packages and installing unzip, I extracted the archive and ran the installer script.
Once that finished, I ran this command to confirm that it installd correctly:
aws --versionMy terminal returned:
aws-cli/2.27.38 Python/3.13.4 Linux/6.6.87.1-microsoft-standard-WSL2
This is exactly what I was hoping to see. After verifying the install, I cleaned up the installation files by deleting the unzipped folder and zip archive using:
rm -rf aws awscliv2.zip.With the CLI installed, the next step was connecting it to my AWS account. I went back to the console, opened IAM, clicked on my user, and then opened the Security credentials tab. Scrolling down to Access keys, I clicked Create access key, chose the option for CLI access, checked the confirmation box, and submitted the request.
AWS then gave me both an Access Key ID and a Secret Access Key, which I immediately saved somewhere safe. These look something like this:
Access Key ID: ThisISMyacCessKeY
Secret Access Key: thiSIsMySECretKey3An5hgiesgewgGIw23ejkHGFG
(Obviously, don’t ever share your real credentials.) Back in the terminal, I ran:
aws configure Then I entered each piece of info when prompted: the Access Key ID, Secret Access Key, my default region (us-east-1 in my case), and output format (json). To confirm everything was working, I ran:
aws s3 lsThis returned an empty list (since I hadn’t created any S3 buckets yet), but that’s a good sign. It means the credentials are working.
Setting Up Billing Alerts with SNS and CloudWatch
Even though I set a budget earlier, I wanted to make sure I’d actually get notified by email if my spending ever exceeded a certain threshold. AWS Budgets alone doesn’t always notify you quickly enough, so I added a billing alert using SNS and CloudWatch.
First, I created a new SNS topic. In the AWS Console, I searched for SNS, clicked Create topic, and gave it a name like BillingAlertTopic. I left the type set to Standard and kept all the default settings. It’s important to note that both SNS and CloudWatch billing alarms need to be created in the US East (N. Virginia) region, even when you’re using a different region for your resources.

Once the topic was created, I clicked Create subscription, selected Email as the protocol, and entered my email address as the endpoint. After submitting, AWS sent a confirmation email to that address, and I clicked the link inside to confirm the subscription. That part’s easy to miss if you forget to check your inbox.
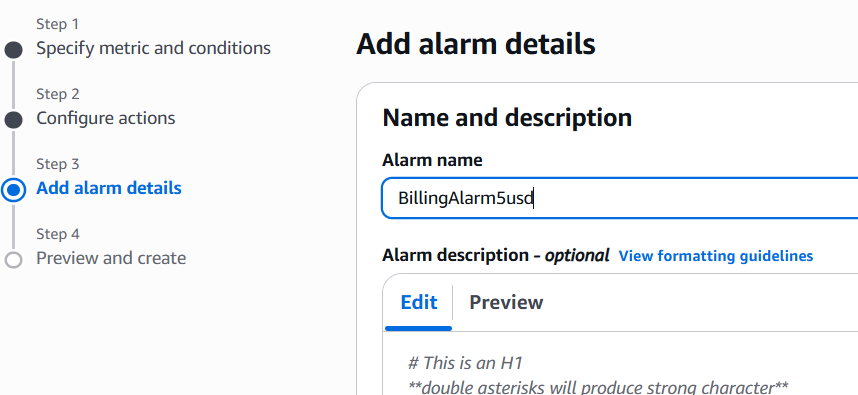
With the SNS topic ready to go, I moved over to CloudWatch. I searched for it in the console, then found the Billing section under Alarms. From there, I clicked Create alarm, set the threshold to trigger at $5.00 of usage (though you can set this to whatever makes sense for you), and chose my SNS topic as the notification destination. I named the alarm something like BillingAlarm5usd, reviewed all the settings, and clicked confirm. At first, the alarm shows “Insufficient Data,” which is normal if no usage has occurred yet. But once billing picks up, the alarm will start evaluating and trigger if the threshold is met.
Final Thoughts
By the end of all this, I had a much better setup than when I started. I created a secure IAM user so I wouldn’t be using the root account, configured a zero-dollar budget to avoid surprise charges, installed and configured the AWS CLI on WSL for local development, checked my EC2 instance limits, and added billing alerts that email me if anything goes over budget.
It might seem like a lot up front, but honestly, these are all small, one-time setup tasks, and they make a huge difference. Now I feel way more confident experimenting with AWS services knowing I have some safety rails in place. If you’re setting up your account too, I hope this helped give you a smoother start.